
Welcome to your step-by-step guide to roof installation! Understanding this process is integral to updating your home, fixing leaks, or just learning more about what goes into installing one. In this guide, FGA Roofing covers everything from choosing roofing contractors through final inspection—let's jump right in!

Understand Roof Installation
A successful roof installation project takes more than simply nailing on some shingles; it involves thoughtful planning and execution that ensures your home remains dry for many years. Appropriately done, new roofing not only protects but also adds value.
Finding an Appropriate Roof Company
Step one in roof installation should involve selecting an experienced and trustworthy company for services. An established roofing firm should offer clear guidance throughout each stage to make the experience as hassle-free as possible for its clientele.
Planning Your Roof Installation
Once you've decided on a roofing company, they will begin planning for your installation by inspecting your current roof, discussing needs and budget considerations with you, selecting materials from various suppliers, and making adjustments accordingly. At any point during this phase, you are free to ask any questions and request modifications so that they fit exactly with your vision and budget dictate.
Prepping for Installation Day
Proper planning is key to a smooth roof installation experience. Your roofing company handles most preparations, such as obtaining necessary permits and scheduling material delivery. As a homeowner, you should clear away vehicles, secure pets, and remove fragile items from your attic so the workers have unobstructed access.
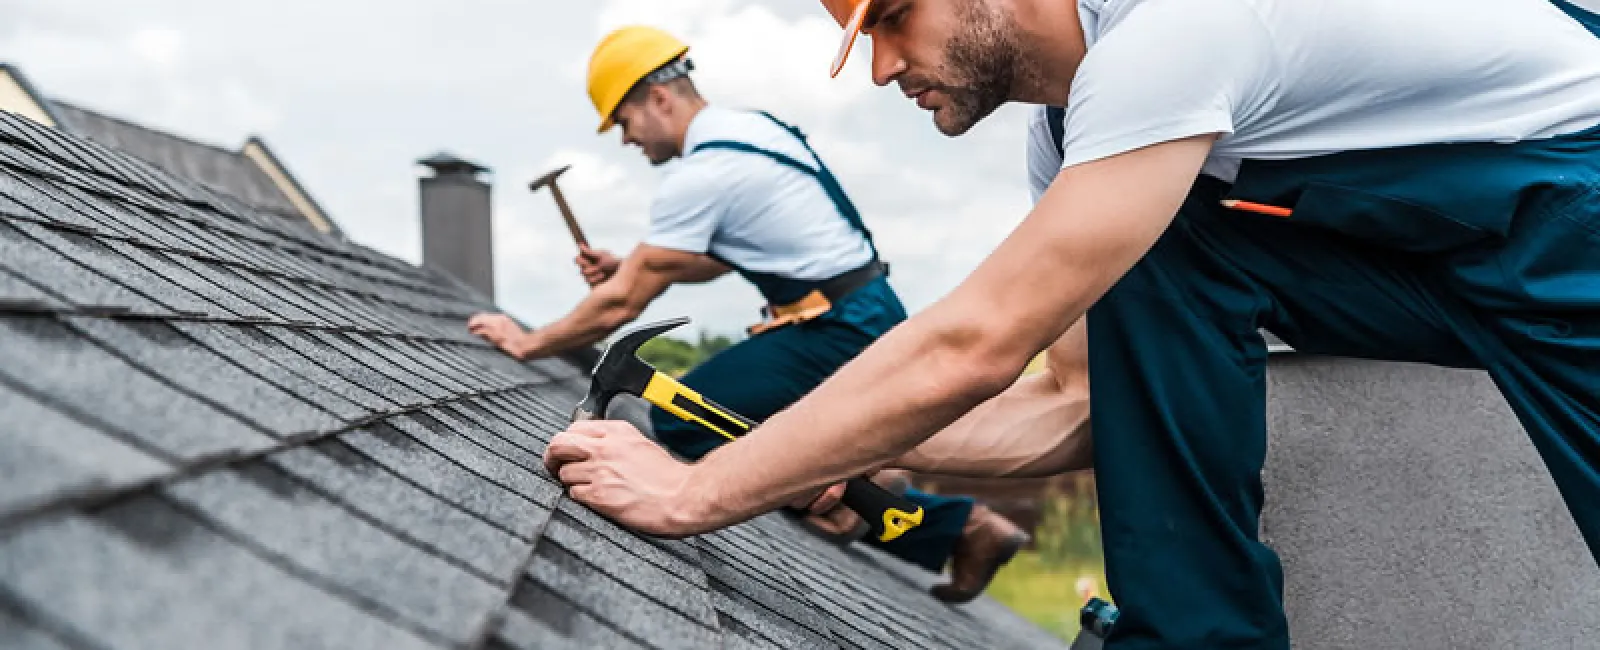
Installation Process
On installation day, roofing contractors will arrive early to set up. Generally speaking, this begins by removing and disposing of your old roof; this step often reveals any water damage or insulation issues that need addressing before your new one goes up.
Once all old materials have been cleared and the roof is prepared for installation, actual installation begins. This involves installing waterproof underlayment to provide protection, new roofing shingles/tiles as necessary, and fitting features like flashing around chimneys/vents to prevent water leakage. Fitting flashing around these elements as required to prevent future water leakage issues, as well as flashing around vents to stop potential water leaks forming around these features, etc.
Roof Repair Considerations
When installing new roofing materials, it is always wise to consider roof repair plans. Contractors may identify areas requiring repair during installation, and addressing these early can extend the roof's lifespan while protecting your home.
Final Inspection and Cleanup
Once roof installation has been completed, roofing companies should perform an intensive final inspection to ensure everything was installed according to plan and remove all materials left by workers—leaving behind only an impressive brand-new roof! Clean-up will follow as part of this step, leaving no trace of our workers' presence!
Maintain Your New Roof After installation
Your new roof must be maintained through regular inspection and maintenance visits to spot potential problems early and avoid extensive repair later. Your roofing company should offer guidance on what signs to look out for and when scheduled inspections should occur.
FGA Roofing
Installing a roof can be an enormously significant investment for any homeowner. By choosing reliable roofing contractors and understanding their process, you can ensure a successful installation experience. A reputable roofer should always be happy to discuss options, provide detailed explanations, and guarantee your complete satisfaction at every step - giving you peace of mind knowing your home will remain well protected against weather-related threats.
 770-209-3823
 6669 Peachtree Industrial Rd,